
Create a Rule
1
Open the pipeline settings
Open the job opening’s Settings and go to the Candidate Pipeline tab. Automation is available on saved job openings, not in the job creation wizard.
2
Turn on Automation for a stage
Switch on Automation on the stage card. Click New rule, or start from the auto-advance or auto-reject starter.
3
Choose the trigger and conditions
Pick what starts the rule, for example Status changes to Finalized. Click Add condition to limit it to certain candidates, for example Overall score is at least 80. With no conditions, the rule runs for every candidate who reaches the trigger.
4
Add actions and save
Click Add action for each thing the rule should do, then click Save.
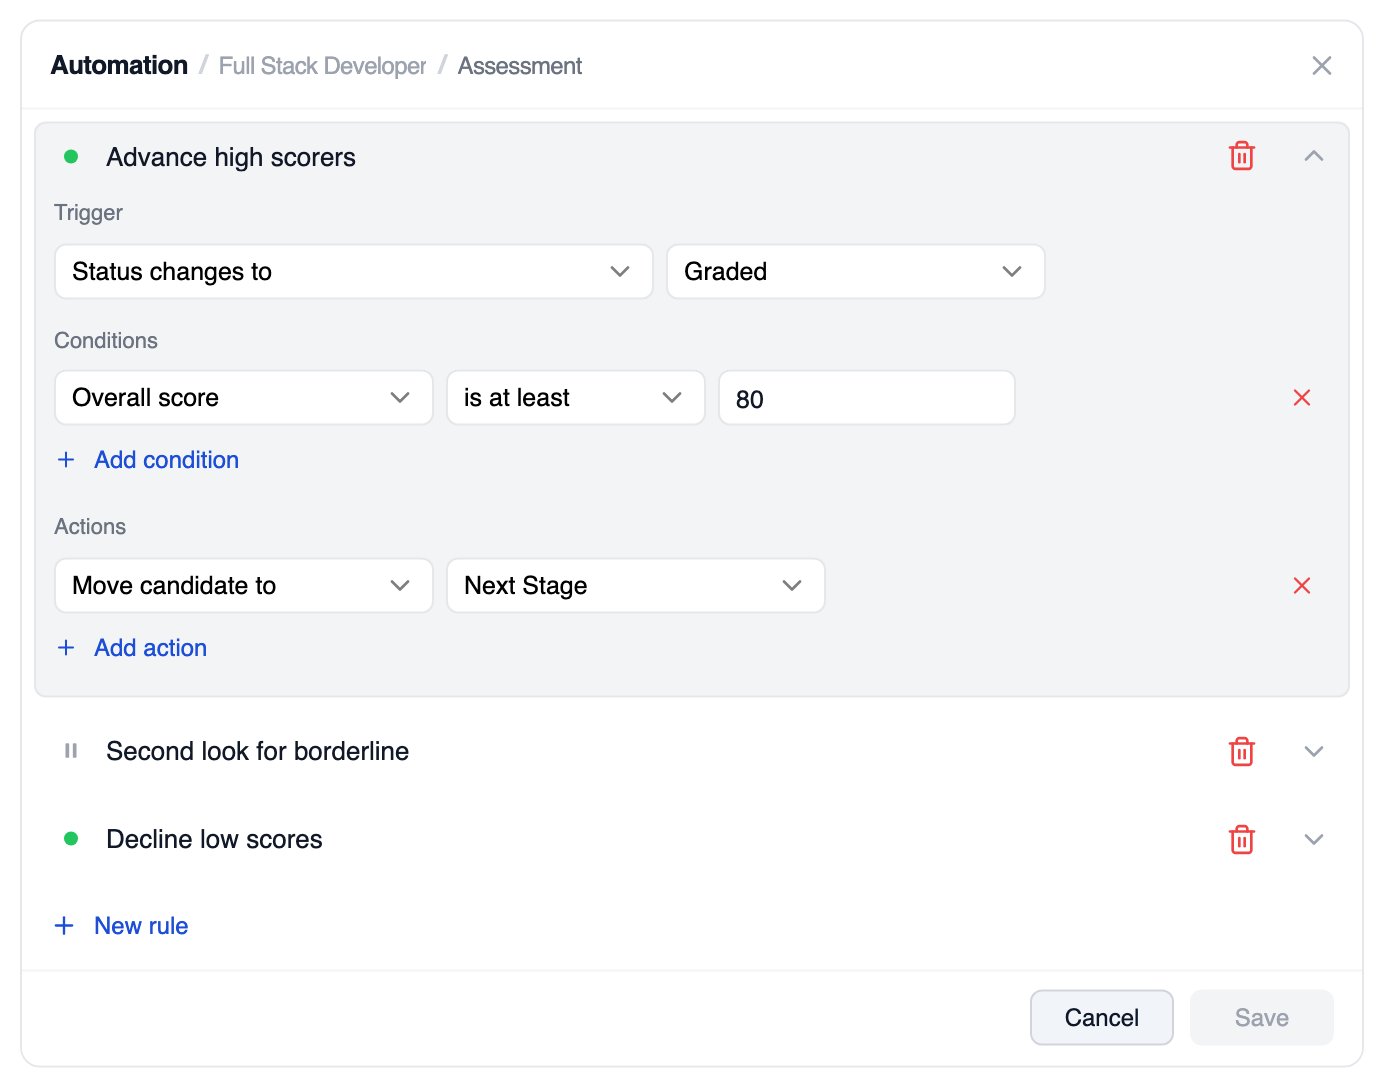
A rule in the Automation dialog, with its trigger, condition and action
How a Rule Works
Every rule has the same three parts:
When a trigger fires, every active rule on that stage is checked in the order listed. Once an action moves the candidate out of the stage, the remaining rules on that stage are skipped.
For the full list of triggers, condition fields, and actions, see Automation Triggers, Conditions, and Actions.
Stages That Support Automation
Automation is available on the stages where candidates are evaluated. Each stage type offers its own scores to use in conditions.
A rule can also use scores from the previous stage in the pipeline, so a Live Interview rule can check the assessment score that came before it.
Pause or Edit Rules
Click the rule count on the stage card, for example “2 rules, 1 paused”, to open the dialog and edit.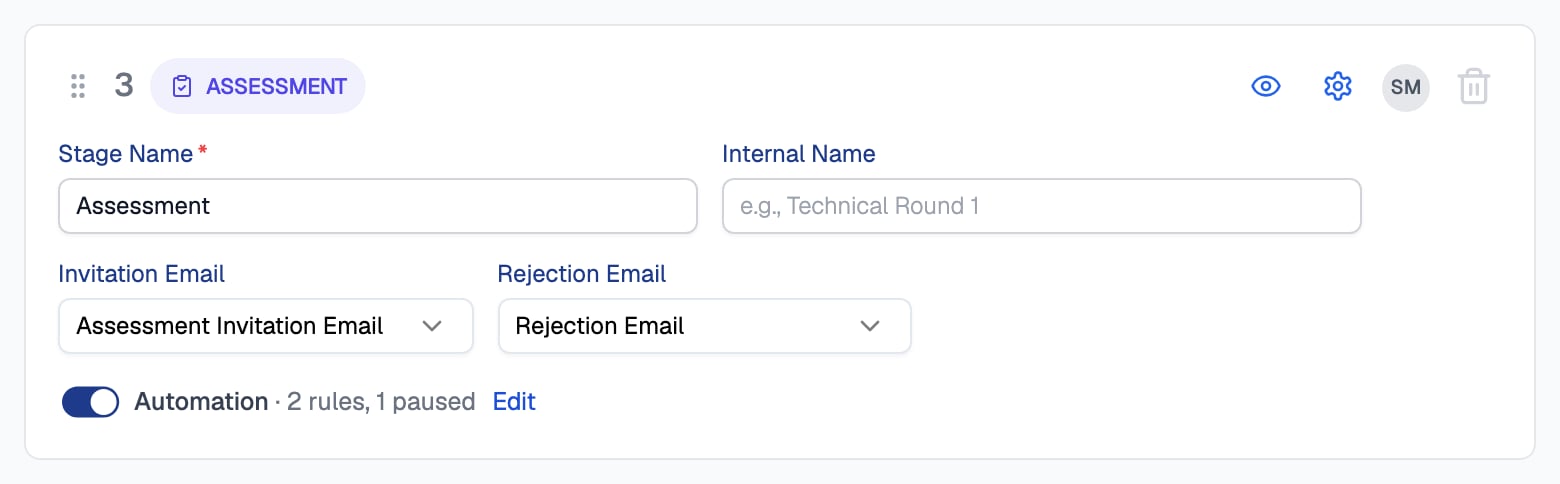
The Automation switch on a stage card, with two active rules and one paused
Example Rules
These are common starting points, written in the same terms the dialog uses.Related Resources
- Automation Triggers, Conditions, and Actions - Every option available in a rule
- Automation Webhooks and External Updates - Connect a rule to your own systems
- Pipeline Stages - The stage types automation runs on
- Changing Stages - Moving candidates by hand